

Strawberry honey butter is a luscious, creamy spread that elevates any breakfast. With its sweet strawberry flavor, rich honey undertones, and a hint of vanilla, it’s perfect for quick breakfasts or indulgent weekend brunches. Plus, it’s incredibly easy to make and a hit with the whole family!
Table of Contents
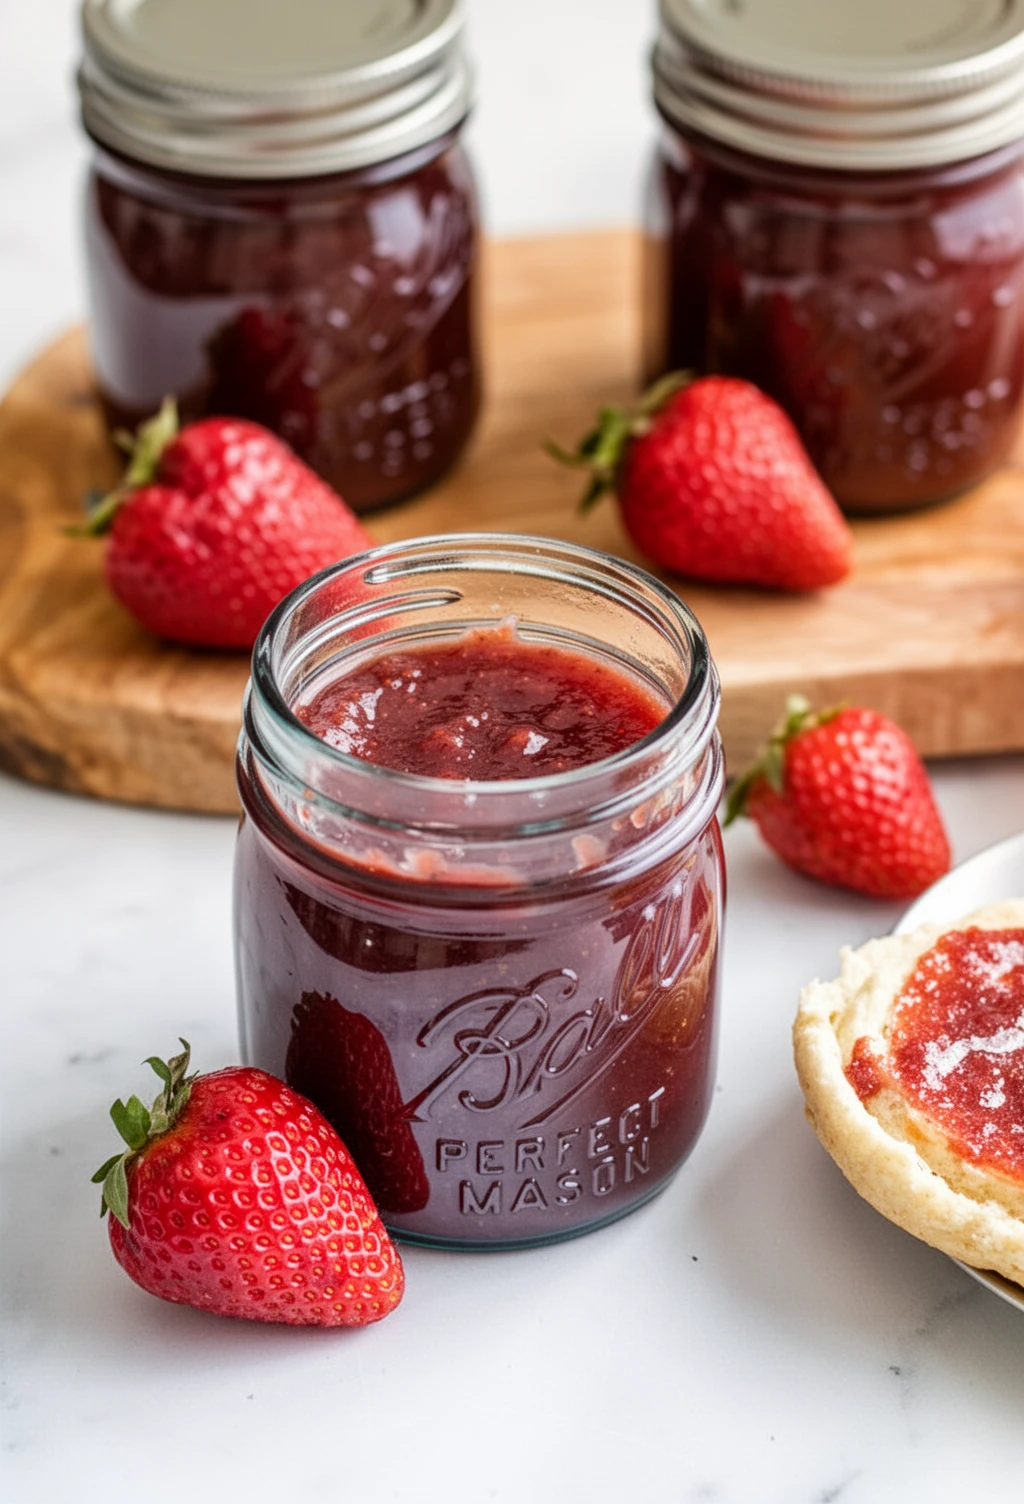
The Sweetness of Homemade Strawberry Honey Butter
Why Make Your Own Strawberry Honey Butter?
Creating your own strawberry honey butter is a delightful experience. You control the quality of ingredients, ensuring a fresher, more vibrant flavor than store-bought spreads. Plus, it’s a fun project that fills your home with the sweet aroma of cooking strawberries, making it a perfect activity for a sunny afternoon.
Understanding the Key Ingredients
This strawberry honey butter recipe features just a handful of ingredients: fresh strawberries, sugar, honey, vanilla extract, lemon juice, and a pinch of salt. The combination results in a thick and rich texture that’s simply irresistible. Fresh strawberries give it a vibrant color and natural sweetness, while honey adds a floral touch. You’ll adore the balance of flavors!
Crafting Your Strawberry Honey Butter
Preparing Your Canning Jars and Lids
Before diving into the cooking process, prepare your canning jars. Heat four half-pint jars in simmering water, ensuring they’re clean and warm. Wash the lids and bands in warm, soapy water to make sealing easier.
Pureeing the Fresh Strawberries
Next, hull the strawberries and puree them in a food processor until smooth. This step is crucial, as the smooth strawberry puree will blend beautifully with the other ingredients, creating that luscious texture we crave.
Simmering to Thick, Rich Perfection
In a deep pot over medium heat, combine the strawberry puree, sugar, honey, bottled lemon juice, vanilla extract, and salt. Bring the mixture to a boil, stirring frequently. Then, reduce the heat and let it simmer until thick and rich, about 60 to 90 minutes. You’ll know it’s ready when it holds its shape on a spoon. The smell will be heavenly!
Canning Your Strawberry Honey Butter for Shelf Stability
Filling and Sealing the Jars
Once the mixture has thickened, ladle it into the hot jars, leaving a 1/4 inch headspace. Remove any air bubbles and wipe the rims of the jars to ensure a good seal. Center the lids on the jars and screw the bands on fingertip tight.
Water Bath Canning Process
Place the jars in a boiling water canner. Process the jars for 10 minutes, adjusting the time based on your altitude. This step ensures that your strawberry honey butter is shelf-stable and can be enjoyed long after making it.
Cooling and Checking for Seals
After processing, turn off the heat and let the jars stand in the water for 5 minutes. Remove the jars and allow them to cool undisturbed for 12 to 24 hours. To check that they’ve sealed properly, press the center of the lid. It should not flex, indicating a secure seal.
Tips for the Best Strawberry Honey Butter
The Importance of Bottled Lemon Juice
Using bottled lemon juice is key for safety, as it provides consistent acidity levels necessary for proper canning. Fresh lemon juice can vary in acidity, leading to potential safety issues.
Adjusting for Altitude
If you live at a higher altitude, be sure to adjust your processing time. This ensures your strawberry honey butter is safely sealed, allowing you to enjoy it without worry.
Storage and Enjoyment
Once properly sealed, store your jars in a cool, dark place. When you’re ready to enjoy, spread this sweet delight on toasted sourdough English muffins or alongside buttered toast for a heavenly breakfast treat!
Serving Suggestions for Strawberry Honey Butter
Perfect for Breakfast and Brunch
This strawberry honey butter transforms ordinary dishes into extraordinary experiences. Use it on pancakes, waffles, or scones to impress your guests during brunch.
Beyond Toast: Creative Uses
Think outside the toast! Swirl it into oatmeal, dollop it on yogurt, or use it in baking to infuse your desserts with sweet strawberry goodness. You might also explore recipes like Blueberry Strawberry French Toast Casserole or Honey Peach Cupcakes for further inspiration!
FAQs
What ingredients do I need to make strawberry honey butter?
You will need fresh strawberries, sugar, honey, vanilla extract, bottled lemon juice, and salt.
How long does strawberry honey butter last in the fridge?
Once opened, strawberry honey butter lasts about 2-3 weeks in the fridge. Sealed jars can last for up to a year in a cool, dark place.
Can I use frozen strawberries for strawberry honey butter?
Yes, you can use frozen strawberries. Just make sure to thaw and drain excess liquid before pureeing for the best texture.
What is the best way to store strawberry honey butter?
Store sealed jars in a cool, dark place. After opening, keep it in the fridge to maintain freshness.
How can I use strawberry honey butter in recipes?
You can spread it on toast, mix it into yogurt, or even use it in baked goods for added flavor.
Related Recipes to try
Conclusion
Enjoying homemade strawberry honey butter is a comforting experience. Not only does it taste incredible, but it also brings warmth to your kitchen. For more inspiration and delicious recipes, check out our Pinterest page at Artemis Recipes. Happy cooking!
Strawberry Honey Butter: A Sweet Delight for Everyone
Equipment
- large pot
Ingredients
- 3 pounds fresh strawberries washed and hulled
- 3 /4 cup sugar
- 3 /4 cup honey
- 2 teaspoons vanilla extract
- 1 teaspoon bottled lemon juice
- 1 /4 teaspoon salt
- 4 half-pint canning jars with lids and bands
Instructions
- Heat four half-pint jars in simmering water (do not boil) and wash lids and bands in warm soapy water.
- Hull strawberries and puree them in a food processor until smooth.
- Combine strawberry puree, sugar, honey, lemon juice, vanilla extract, and salt in a deep pot over medium heat.
- Bring to a boil, stirring frequently. Reduce heat and simmer until very thick (60-90 minutes), stirring frequently. Cooking is complete when the mixture holds its shape on a spoon.
- Ladle hot mixture into hot jars, leaving 1/4 inch headspace. Remove air bubbles and wipe jar rims.
- Center lids on jars and screw bands on fingertip tight. Place jars in the boiling water canner.
- Process jars for 10 minutes in boiling water (adjust for altitude).
- Turn off heat, let jars stand in water for 5 minutes. Remove jars and let cool undisturbed for 12-24 hours. Check seals by pressing the center of the lid; it should not flex.
Notes
– Adjust processing time based on altitude.
– Store jars in a cool, dark place after sealing.
– Consume after checking for proper seal (lid should not flex).
– Foam produced during cooking will disappear with the process.